Handy tips and advice
Our guides and insider tips will get you started whether you're in a caravan, motorhome, campervan or tent.
Get startedSammy Faircloth shares advice relating to stabilisers and jockey wheels
Do you know much about your tourer’s chassis – the base frame on which your leisure vehicle is built? In practice, the maintenance and repair of your chassis and ‘running gear’ is usually carried out during your annual service by a competent engineer.
However, there are some jobs that can be carried out by owners at home.
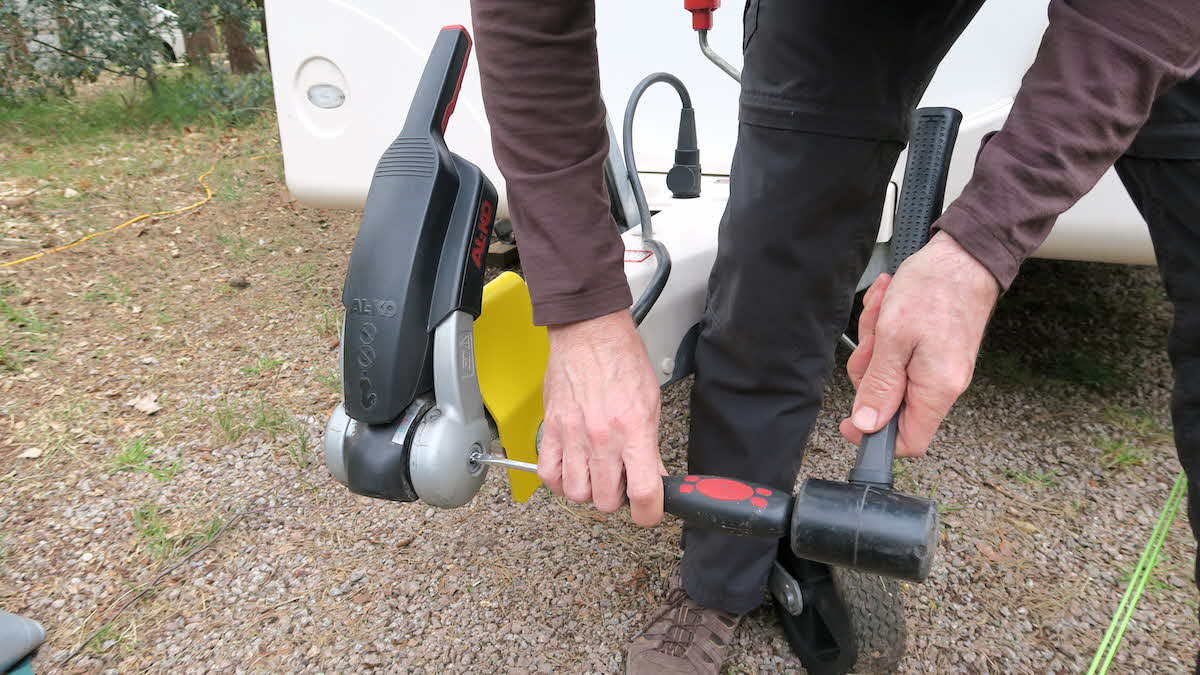 Stabiliser coupling – step 2
The purpose of a stabiliser coupling – or simply a ‘stabiliser’ – is to reduce snaking and pitching movements that can be caused by potholes in the road, side winds or poor loading.
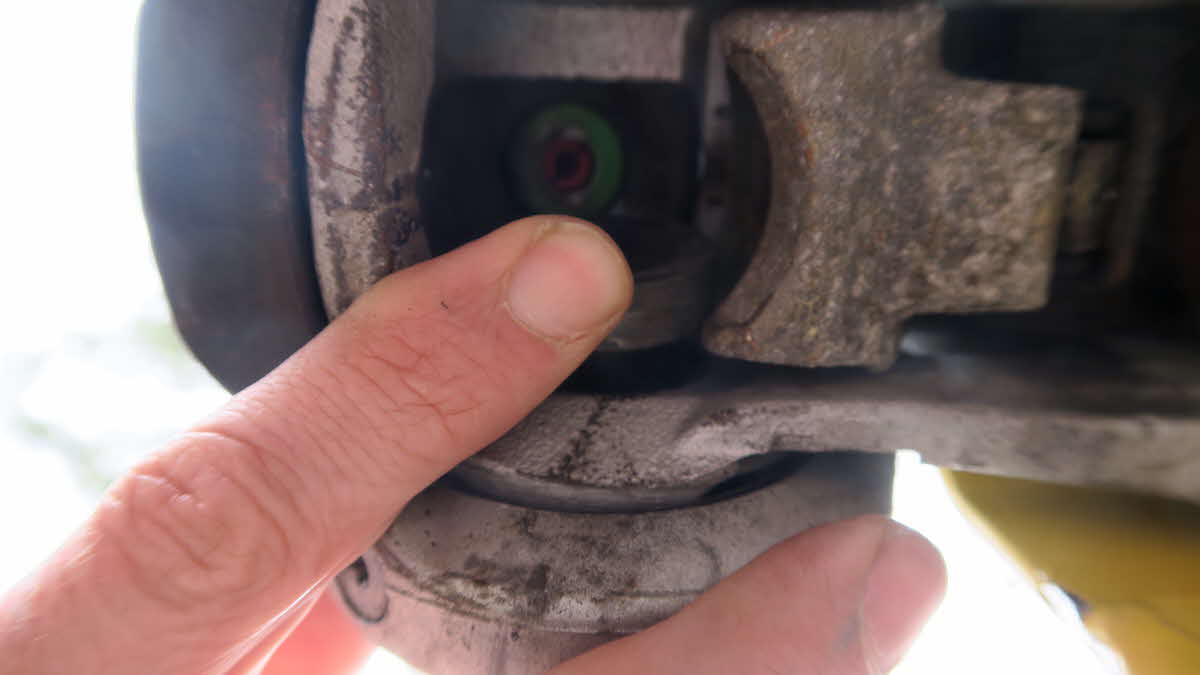
To activate the stabiliser, first hitch up to the towcar. Once the coupling head has been connected to the towball, push down the stabiliser handle – this engages friction pads on the ball. Ensure that the stabiliser safety indicator is showing green to confirm that it is correctly seated.
Stabilisers only work if a towball is clean, free of grease and hasn’t been coated in paint.
A painted towball has to be prepared with emery cloth before it’s put into service.
Sometimes you may get a grinding or creaking noise coming from your hitch when towing, particularly around corners. This is often the result of dirty or worn stabiliser friction pads, which need cleaning or replacing. This is a relatively simple task.
The following steps relate to an Al-Ko AKS 3004 stabiliser coupling:
Modern caravans are built on galvanised chassis fitted with related running gear. The benefit of these galvanised products is that they’re virtually maintenance-free. Of course, you’d be wise to brush away any excessive accumulations of mud or wash off any road salt, but that’s all you normally need to do.
The jockey wheel is a retractable, adjustable-height wheel, which is used to manoeuvre a caravan into position on site or in storage. It can also offer additional support and help with front to back levelling when on pitch.
The actual wheel part on some jockey wheels can be made of plastic – these can cause a bit of a struggle on wet grass or gravel pitches. Some jockey wheels on older caravans feature an inflated tyre, which aids manoeuvrability. An alternative, which works well on gravel, is the solid rubber-tyred wheel, such as those available from Club Shop (shop.camc.com).
Fitting a new jockey wheel is a relatively simple task, but it is a dirty job, so I recommend wearing gloves. Some jockey wheels are easy to access and can be removed simply by unscrewing the bracket. However, for A-Frames with plastic fairings it’s a little more complicated. Follow the guide below:
Some people like to position the caravan during this process so that the rear is low and the front is high so there is more space to work with. This is fine, but remember to lower corner steadies, put the handbrake on and chock the wheels.
I’ve only covered the basics of stabiliser and jockey wheel maintenance on these pages – if you’re in any doubt about the workings/correct fitting of either, contact a qualified workshop (ideally one that is a member of the Approved Workshop scheme – approvedworkshops.co.uk). See the May 2023 edition of the Club Magazine or the Club Magazine App for step-by-step photos.